John H Photo Gallery

These are photos taken in the early years, before using facebook and google photos.

[ stop the slideshow ]

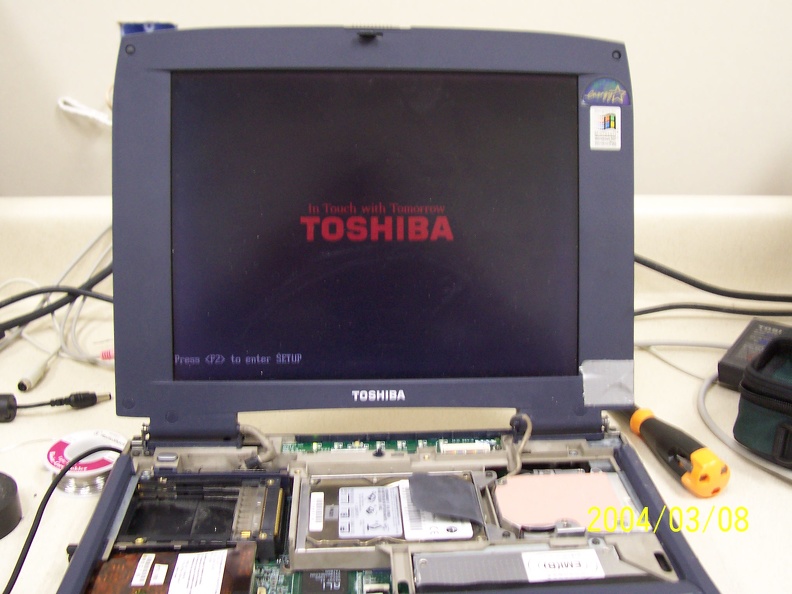
The computer was put together in reverse order it was taken apart. Here, we see the half-assembled computer turning on, proof t

abt.jpg The first thing to remove is the bezel between the keyboard and screen.ThumbnailsRemove the screws from the top of the keyboard.The first thing to remove is the bezel between the keyboard and screen.ThumbnailsRemove the screws from the top of the keyboard.The first thing to remove is the bezel between the keyboard and screen.ThumbnailsRemove the screws from the top of the keyboard.The first thing to remove is the bezel between the keyboard and screen.ThumbnailsRemove the screws from the top of the keyboard.The first thing to remove is the bezel between the keyboard and screen.ThumbnailsRemove the screws from the top of the keyboard.The first thing to remove is the bezel between the keyboard and screen.ThumbnailsRemove the screws from the top of the keyboard.The first thing to remove is the bezel between the keyboard and screen.ThumbnailsRemove the screws from the top of the keyboard.

The computer was put together in reverse order it was taken apart. Here, we see the half-assembled computer turning on, proof that the work works.