John H Photo Gallery

These are photos taken in the early years, before using facebook and google photos.

[ stop the slideshow ]

Here I took the soldering iron and swished the white plastic around with the blue plastic, melding them together forever.

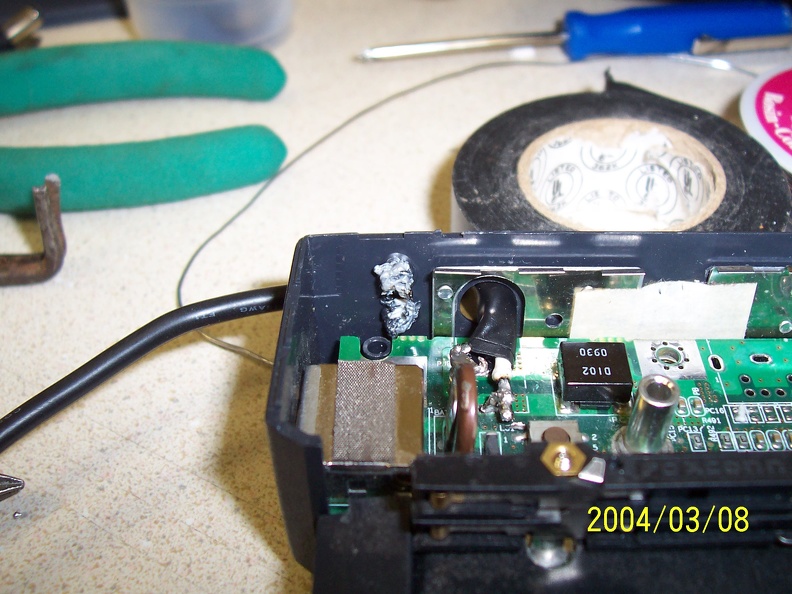
abq.jpg Place the keyboard on the laptop upside, connect the cables and rotate down.ThumbnailsHere you can see the wire and pins from the inside of the case.Place the keyboard on the laptop upside, connect the cables and rotate down.ThumbnailsHere you can see the wire and pins from the inside of the case.Place the keyboard on the laptop upside, connect the cables and rotate down.ThumbnailsHere you can see the wire and pins from the inside of the case.Place the keyboard on the laptop upside, connect the cables and rotate down.ThumbnailsHere you can see the wire and pins from the inside of the case.Place the keyboard on the laptop upside, connect the cables and rotate down.ThumbnailsHere you can see the wire and pins from the inside of the case.Place the keyboard on the laptop upside, connect the cables and rotate down.ThumbnailsHere you can see the wire and pins from the inside of the case.Place the keyboard on the laptop upside, connect the cables and rotate down.ThumbnailsHere you can see the wire and pins from the inside of the case.

Here I took the soldering iron and swished the white plastic around with the blue plastic, melding them together forever.