Home / 2004 / Project Toshiba /
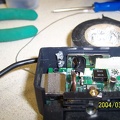
The picture showing the wires being placed in the laptop came out pretty horrible. I'll put them up here later for reference.
20/49
)
)
)
)
)
)
)
)

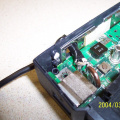
The picture showing the wires being placed in the laptop came out pretty horrible. I'll put them up here later for reference. However, this is the finished product. The wire is soldered directly to the board, and 2 white plastic pins are pushed into th
- Created on
- Monday 8 March 2004
- Posted on
- Tuesday 1 March 2011
- Albums
- Visits
- 2994
0 comments